
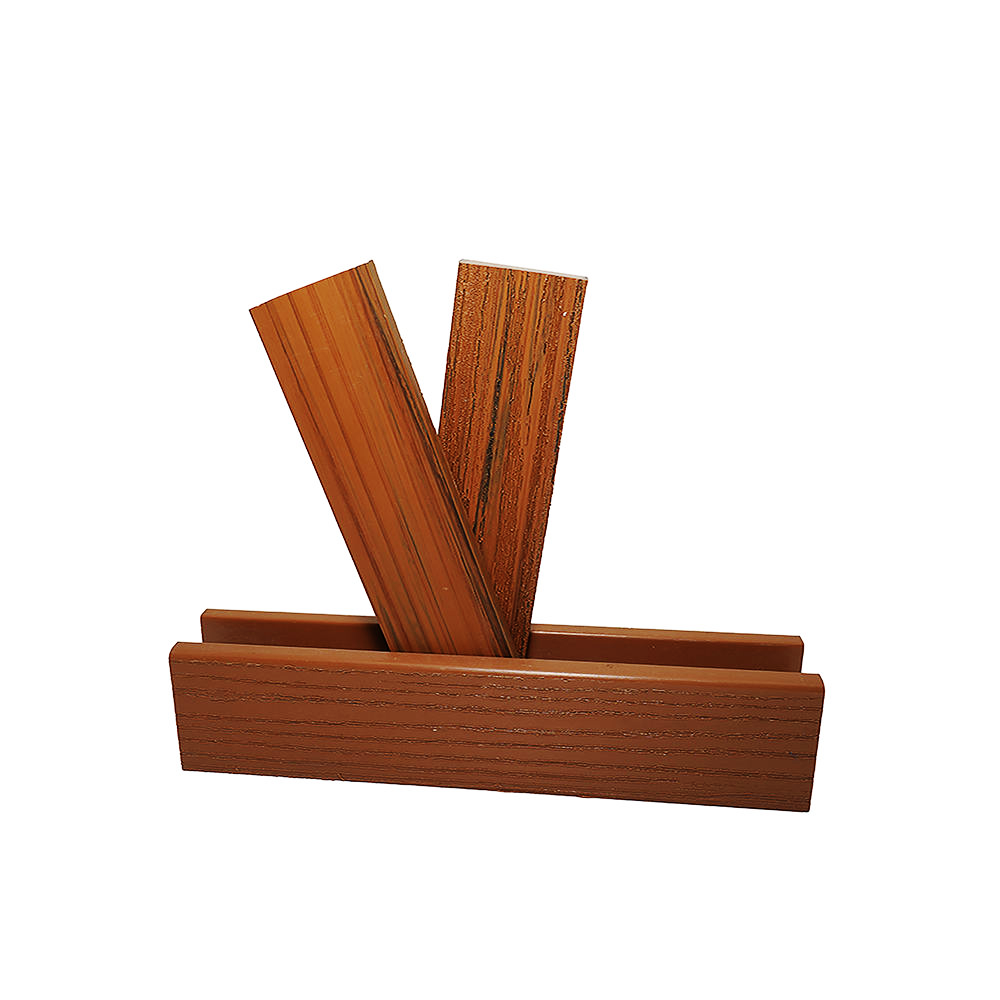
How to Install WPC Fencing: A Complete Step-by-Step Guide (2026)
Wondering how to install WPC fencing without ending up with a wavy, buckled mess? This 2026 step-by-step guide covers everything from site prep to final assembly, based on real-world contractor experience.
The Reality of Installing WPC Fencing
Last month, a contractor asked us if installing WPC fencing was really as easy as our brochures claimed. Look, we won't lie to you—it's not quite like snapping together Lego bricks. But does it actually hold up in real life without driving you crazy? Yes, if you respect the material. Unlike wood, which you can hack and slash with a circular saw, WPC (Wood Plastic Composite) requires a bit more finesse. Here’s exactly how to install WPC fencing, from the first post hole to the final cap rail.
Tools & Materials You Actually Need
Before you dig a single hole, get your gear sorted. You don't need a massive workshop, but cheap tools will make this a nightmare.
Post hole digger or auger
Level (get a good 4-foot one, not a tiny torpedo level)
Tape measure & chalk line
Circular saw with a fine-tooth carbide blade (crucial for clean cuts)
Drill/driver with Torx/Phillips bits
Rubber mallet
Gravel and concrete (quick-setting mix works best)
Your WPC fence kit: posts, rails, boards, and hidden fasteners.
Pre-Installation: The Part Everyone Skips
Here's what nobody tells you about fencing: 70% of the work happens before the first board goes up. If your posts are off by half an inch at the bottom, they’ll be off by two inches at the top.
First, call 811 to check for underground utilities. Seriously, don't skip this. Next, map out your line using stakes and a string. Check for slopes. If your ground drops more than a few inches over a 6-foot span, you’ll need to step the fence or rack it. WPC doesn't bend like vinyl, so stepping (keeping the top level and following the ground contour with the bottom) is usually the way to go.
Space your post holes exactly according to your rail length, usually 6 or 8 feet on center. Dig them 24 to 30 inches deep—below the frost line if you live somewhere cold.
Step-by-Step Installation Guide
Let’s get into the actual build.
Step 1: Set the Posts
Drop 4 inches of gravel into the hole for drainage. Set your aluminum or steel post (most WPC systems use a metal core or metal posts for rigidity). Plumb it in two directions. Pour your concrete. Here’s a trick: slope the concrete slightly away from the post at the top to shed water. Let it cure for at least 24 hours. Don't rush this.
Step 2: Attach the Bottom Rail
Once the posts are rock solid, mount the bottom rail. Use the provided brackets. Make sure it’s perfectly level. If it’s not, your boards will look like a funhouse.
Step 3: Install the First Board
Slide your first WPC board into the bottom rail and the post channel. Use a shim if you need to keep it plumb. Secure it with the hidden fasteners. This first board sets the tone for the entire fence. Take your time.
Step 4: Keep Going (and Watch the Gap)
Insert the next board, add a fastener, repeat. WPC expands and contracts with temperature changes. You must leave the manufacturer’s recommended gap (usually 3-5mm) between boards. If you butt them tight in July, they’ll buckle in August.
Step 5: Cut the Boards
When you reach the end of a run, you’ll need to cut the boards. Measure twice. Use a fine-tooth carbide blade on your circular saw or miter saw. Cut the board with the good face up to prevent chipping. A quick pass with a file or sandpaper on the cut edge keeps it clean.
Step 6: Top Rail and Caps
Once all boards are in, secure the top rail. Snap on the post caps. This isn't just for looks; it protects the post internals from rain and debris.
Step 7: Clean Up
Wipe down the boards with a damp cloth to remove dirt and fingerprints. WPC is low maintenance, but it’s not magic—it still gets dirty during installation.
Pro Tips & The Catch
We usually recommend having a two-person team for this. Holding a 6-foot WPC board while trying to align a hidden fastener by yourself is a great way to scratch the surface or lose your temper.
Also, store your WPC fencing panels flat and supported before installation. If you leave them leaning against a wall for a week in the sun, they’ll warp, and good luck getting them straight.
The one downside we see fairly often? Cutting. You can't just rip through it like pine. It takes a bit longer, and you'll go through blades faster. Budget for an extra $20 in saw blades.
Timeline & Difficulty
How long does this actually take? For a standard 100-linear-foot fence, a pro crew of two can knock it out in about 2 to 3 days. A confident DIYer? Plan for a long weekend, maybe 4 to 5 days.
Difficulty is moderate. If you’ve built a deck or set concrete posts before, you’re fine. If you’ve never used a level or a saw, you might want to hire someone. The materials themselves—like our composite fence systems—are designed to be user-friendly, but the physical labor of digging and lifting is real.
Frequently Asked Questions
Do I need special screws for WPC fencing?
Yes. Don't use standard drywall or wood screws. Use the stainless steel or color-matched composite screws provided in your kit. They have a smaller head and specific thread design to prevent the material from cracking.
Can I install WPC fencing directly on a concrete patio?
You can, but you need surface-mounted post bases. You'll use wedge anchors to secure the base to the concrete. Just ensure the concrete is in good shape and has proper drainage so water doesn't pool around the posts.
How does the weather affect the installation?
WPC expands in heat and contracts in cold. Always install the boards at a moderate temperature if possible, and strictly follow the gapping guidelines. If you install it tight on a freezing morning, it will buckle when summer hits.
Is WPC fencing fire-resistant?
Most high-quality WPC carries a B1 fire rating. It’s much more resistant to ignition than traditional timber, which is a huge plus if you live in a wildfire-prone area or just want extra peace of mind.
What about the color fading?
We use UV Grade 4-5 materials. That means it will fade slightly (about 10-15%) in the first few months as it UV-cures, but it will stabilize and hold its color for decades. It won't turn gray and brittle like untreated wood. We back this up with a 25-year warranty.
Final Thoughts
Installing a WPC fence isn't a weekend hobby project you can do half-asleep. It requires patience, precise measurements, and respect for the material's expansion properties. But once it's done? You're looking at a boundary that won't rot, won't need painting, and will still look sharp 15 years from now. Got a tricky slope or a massive commercial project? Reach out to our team. We can help you figure out the exact layout and material list before you ever pick up a shovel.