
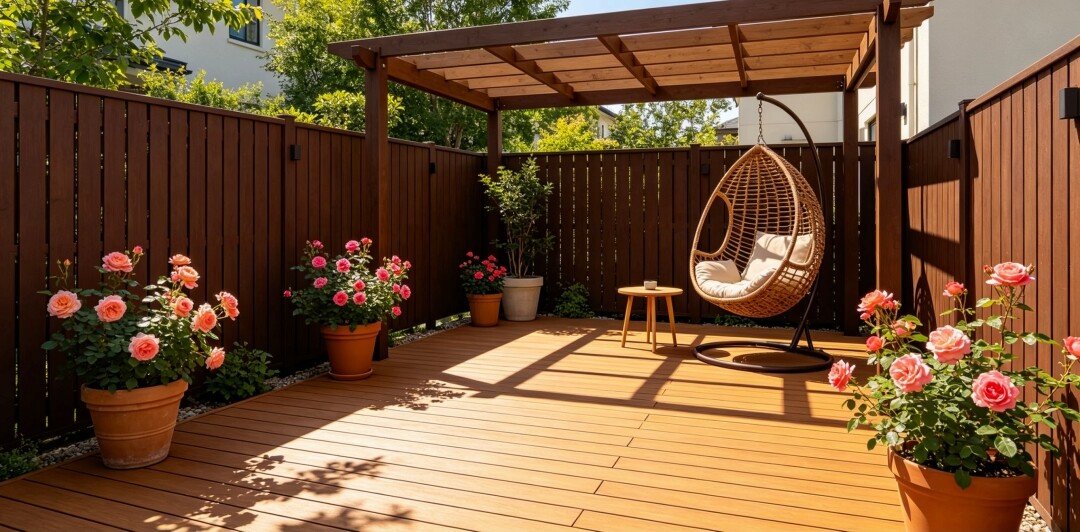
WPC Decking Installation Guide
Complete step-by-step guide for installing WPC decking boards. Learn professional tips for perfect results.
WPC Decking Installation Guide: Step-by-Step DIY & Professional Tips
1. Pre-Installation Preparation
Before laying your WPC decking, proper preparation directly determines the flatness, service life and drainage performance of your outdoor deck.
1.1 Site Ground Treatment
Clear weeds, gravel, sundries from the installation area, level the ground thoroughly.
Ensure a minimum 1.5% drainage slope to prevent rainwater accumulation on the deck surface.
Choose two common base solutions: flat cement concrete base or galvanized steel/treated wood joist frame.
1.2 Tools & Material Checklist
Required Tools: Tape measure, circular saw, drill, hidden fasteners, joist hangers, rubber mallet, level ruler.
Supporting Materials: WPC deck boards, stainless steel hidden clips, end trim boards, expansion gaps cover strips, galvanized joists.
1.3 WPC Material Acclimatization
Place all WPC deck boards in the installation environment for 48 hours to adapt to local temperature and humidity, effectively reducing thermal expansion & contraction deformation after installation.
2. Step-by-Step WPC Decking Installation Process
Step 1: Lay & Fix the Support Joists
Set joist spacing strictly in accordance with standard: maximum 400mm center-to-center spacing for residential pedestrian areas; 300mm for poolside & heavy-load commercial decks.
Fix joists firmly on the level base with expansion bolts, keep the entire joist frame horizontal with a level tool.
Reserve a minimum 150mm ventilation gap between the bottom of joists and the ground to avoid moisture buildup, mildew and insect erosion.
Step 2: Start Laying WPC Deck Boards
Lay the first row of deck boards along the edge of the patio, fix the starting board with stainless steel starting clips.
Install hidden fasteners between two adjacent boards to ensure uniform expansion gap (5–8mm for horizontal length, 3–5mm for side seam).
Use hidden clips instead of surface screws to avoid board cracking, rust stains and destroy the anti-UV protective layer of co-extruded WPC.
Step 3: Cut & Splice Boards for Edge & Corner Areas
When cutting WPC boards, use carbide-tipped saw blades to get neat cuts without rough burrs.
For deck corners, stair edges and perimeter boundaries, install matching WPC fascia trim boards to cover exposed board ends for a neat decorative finish.
Leave 10–15mm expansion gaps between deck boards and walls, fences or fixed building structures.
Step 4: Final Inspection & Surface Cleaning
Check all fasteners are locked tightly, all expansion gaps are reserved evenly.
Trim excess board edges, install end caps for all exposed board cut ends.
Sweep all sawdust and construction debris, rinse the deck surface with clean water to finish installation.
3. Key Professional Installation Tips to Avoid Common Mistakes
Never omit expansion gaps: WPC will expand in high temperature; insufficient gap will lead to board arching, warping and deformation.
Do not use ordinary carbon steel screws: Only 304/316 stainless steel fasteners can prevent rust staining on deck boards in rainy or coastal environments.
Joist spacing cannot exceed standard: Overwide joist span will cause deck board bending, sagging and abnormal creaking when walking.
Avoid fully enclosed ground installation: Keep bottom ventilation to prevent moisture retention and accelerate material aging.
Poolside installation suggestion: Choose anti-slip textured WPC decking and shorten joist spacing to 300mm for safer load-bearing.
4. Regular Post-Installation Maintenance Guidelines
Daily cleaning: Rinse dust, oil stains and fallen leaves with high-pressure water hose; stubborn stains can be cleaned with neutral detergent.
Do not use harsh acidic/alkaline cleaners or high-temperature pressure washing above 80℃ to avoid damaging the ASA co-extruded surface layer.
Clear drainage gaps regularly to prevent fallen leaves blocking the drainage channel and causing ponding.
5. FAQs
Q1: What is the standard expansion gap for WPC decking installation?
A: Reserve 3–5mm side gap between adjacent boards, and 5–8mm lengthwise end gap; when installing in high-temperature tropical regions, expand the gap to 6–8mm to adapt to thermal expansion.
Q2: Can WPC deck be installed directly on flat cement ground without joists?
A: Interlocking PVC WPC deck can be directly laid on smooth cement base; traditional grooved WPC deck must be installed on joists to guarantee ventilation and load-bearing performance.
Q3: Is DIY WPC deck installation suitable for residential homeowners?
A: Yes, our WPC deck adopts standardized hidden clip modular installation. With this step-by-step guide and complete installation accessories, homeowners can complete small-area patio deck laying independently; large-area commercial projects are recommended to hire professional installers.
Q4: Do you provide official installation drawings and technical guidance?
A: Aorai Tech supplies detailed English installation manuals, CAD construction drawings and remote video technical support for all bulk orders. We can also recommend local professional deck installation contractors for overseas residential and commercial projects.
6. Why Choose Aorai WPC Deck & Our Technical Support
As a professional WPC manufacturer, we not only supply high-quality co-extruded WPC decking, but also provide full-set installation accessories and free technical guidance. Whether you are a DIY homeowner, local deck contractor or landscape engineer, you can get one-stop material supply and professional installation consulting service from our team.
Contact us to get the full WPC deck installation technical manual, free product samples and exclusive project wholesale quotation.